
Simply Elegant Long Earrings (Tutorial)
by Rena Klingenberg. © 2003-Present Rena Klingenberg. All Rights Reserved

These long wire earrings curve elegantly toward the wearer’s face, and have a single bead for decoration.

They measure 76mm (3″) from top to bottom – although you can make yours shorter or longer.
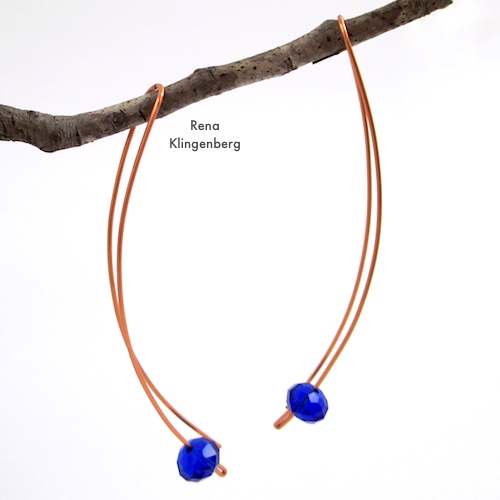
These long curving earrings are especially nice to wear for fancy or formal occasions.
Supplies:
- 2 pieces of 20 gauge round half-hard wire, each 159mm (6.25″) long.
I’m using copper. - 2 beads with holes that will fit on your 20 gauge wire.
I’m using sapphire colored faceted 8x6mm rondelle glass beads. - Wire cutter
- Wire rounder / cup bur
- Round nose pliers
- Flat nose pliers
- Sharpie marker – for marking your wires
- Soup can – to use as a mandrel for curving your wires
- Nylon, plastic, rubber, or rawhide hammer – for shaping your wire around the mandrel
How to Make Simply Elegant Long Earrings
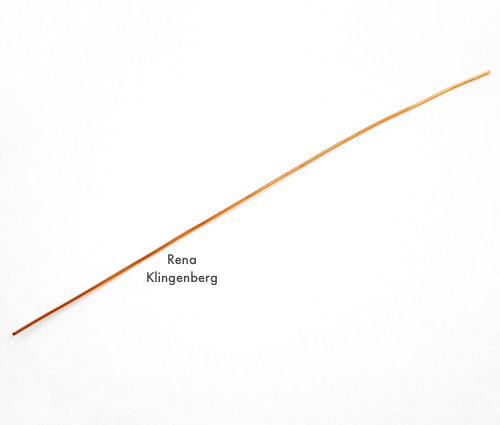
Cut your 2 pieces of wire, each 159mm (6.25″) long:
We’ll use a cup bur / wire rounder to smooth and round the ends of your wire:

Now we’ll straighten the wire, using your nylon jawed pliers (or your fingers) to straighten each wire.
Hold one end of the wire firmly with your flat nose pliers, and pull the entire length of wire through the nylon jawed pliers (or your fingers), pulling the wire straight and tight as you do so:

On each wire, use your Sharpie marker to make a mark 76mm (3″) from one end of your wire:

Now we’ll make one earring at a time.
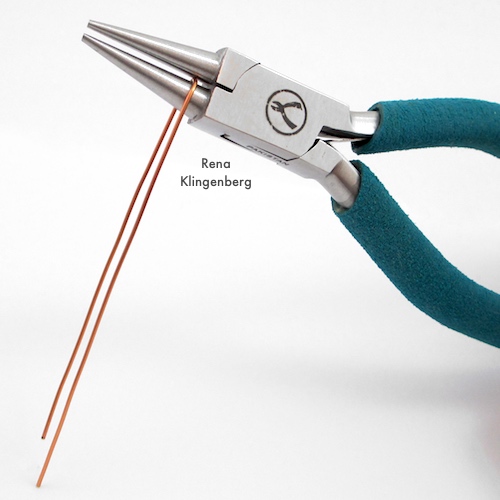
Use the widest part of your round nose pliers to grasp one of your wires, right on the mark you just drew on the wire:

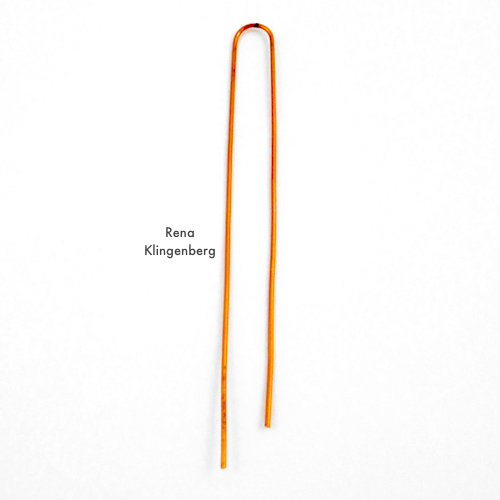
Use your fingers to press the wire ends straight downward, making a smooth curve at the top of your wire:
Your wire should look like this, with one end slightly longer than the other:
Now it’s time to curve your wire around the mandrel (the soup can).
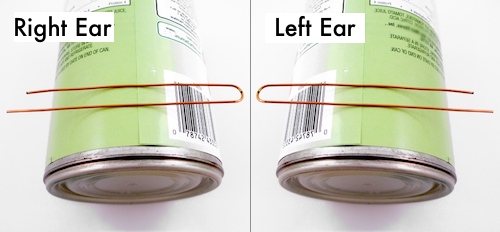
To make both earrings curve toward the wearer’s face, we’ll curve the wires around the mandrel in opposite directions, as shown in the photos below.
Lay your wire across the mandrel, noticing where the longer wire end is for the right ear and left ear in the photo below:
Holding the wire tightly around the mandrel, use your nylon, plastic, rubber, or rawhide hammer to shape your wire around the mandrel:
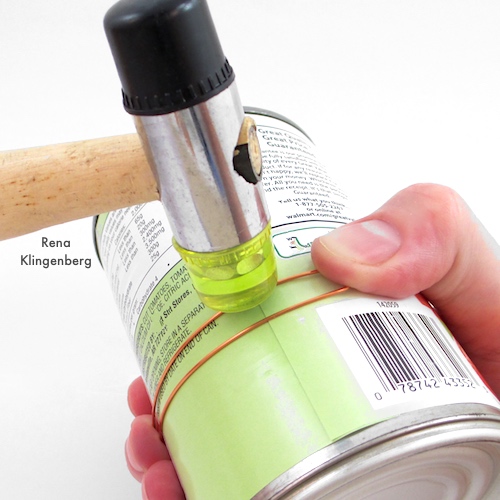
. . . so that the wire looks like this:

Remove your wire from the mandrel, and see the curve in your wire that will make the finished earring curve toward the wearer’s face:

Now we’ll add the bead to your earwire:

Slide the bead onto the longer end of your wire:

We’ll make a little fold at the end of this wire end, to keep the bead in place.
Use the tips of your flat nose pliers to grasp the tip of the longer end of your wire:

Use your pliers to fold the wire end upward toward the bead:

Your wire should look like this:

Use the tips of your flat nose pliers to squash the folded wire end as tightly as you can:

Now your bead should stay nicely at the end of the wire – and now both wire ends should be about the same length:

Your first earring is finished.
Make the second earring the same way, being careful to turn the wire the opposite way from the first earring when you curve it around the soup can.
Your finished Simply Elegant Long Earrings may look something like this:


