
Patina Hardware Bracelet (Tutorial)
by Rena Klingenberg.

In this hardware bracelet tutorial, we’ll transform ordinary washers into fab faux “antiqued” jewelry.
This bracelet is nicely flexible.
It’s also easy to make it the perfect fit for any wrist, simply by adapting the number of washers, and / or including additional small sturdy jump rings on the bar side of the toggle clasp.
Supplies:
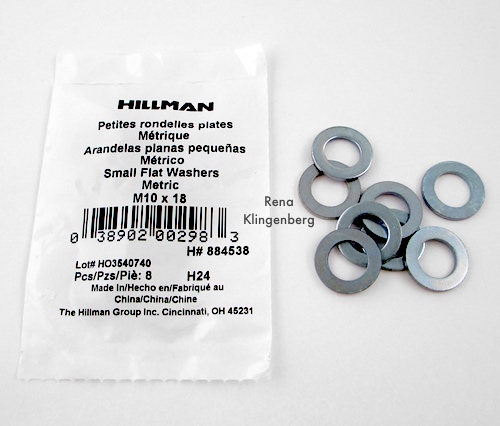
- Hardware washers, size M10x18 (which means the washer diameter is 18mm, and the hole diameter is 10mm).
- Heavy gauge jump rings, 12mm size, for attaching the washers together.
- Toggle clasp.
- 3 sturdy jump rings in 7mm or 8mm size, for attaching the bar end of the toggle clasp to the bracelet.
- Flat nose pliers.
- Chain nose pliers.
- Ranger patina inks – for coloring your washers.
I used patina ink colors called Cinnabar and Verdigris. - Optional: Vintaj glaze for sealing or thinning the patina inks.
(I did not use any.) - Cotton swabs (Q-Tips) for painting the patina on your washers.
- Paper towel scraps to minimize any patina mess.
How to Make a
Patina Hardware Bracelet
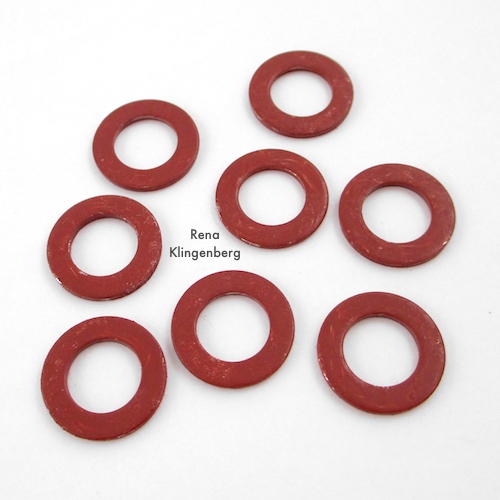
This is the package of washers I purchased at the hardware store:
We’ll start out by coloring the washers with Ranger patina inks.
We’ll use these two colors:

. . . to turn your shiny metal washers into rustic turquoise verdigris artifacts.
Here’s how to create the antiqued look on your washers:
Use a Q-Tip to spread Cinnabar patina ink:
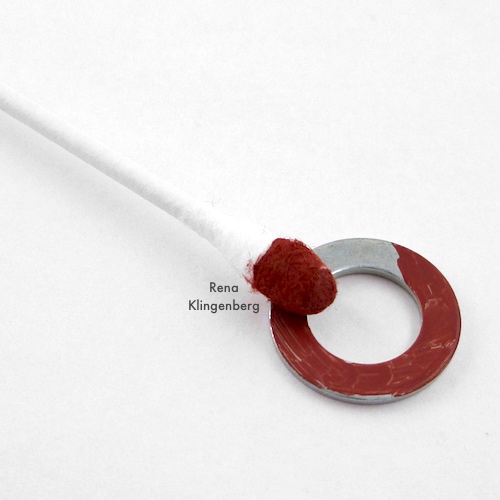
. . . completely over every surface of each washer:
The patina inks dry very quickly. So as soon as the first layer of color dries completely, start applying the second layer.
For the second layer, use a fresh Q-Tip to dab on a spotty covering of Verdigris color patina ink for an antiqued look:
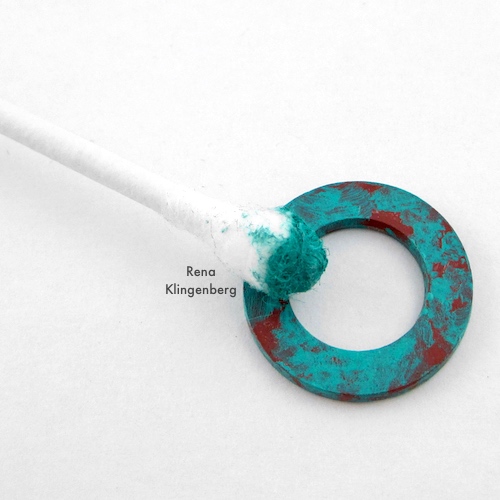
Continue creating this spotty verdigris ink pattern completely over every surface of each washer. Be sure plenty of the Cinnabar color is still peeking out here and there:

Should You Seal Your Patina Ink?
Sealing your finished patina-inked metals isn’t mandatory, but it can protect the finished design.
If you decide to seal your patina ink artistry, the manufacturer recommends using Vintaj glaze to seal Vintaj patina-inked metals.
Wait till the patina-inked metal is completely dry before sealing.
The patina inks dry pretty quickly.
So while your newly-colored washers are drying, you can gather your pliers, jump rings, and clasp.
I’m using these antiqued brass heavy gauge 12mm size jump rings for attaching the washers together:

I’m using this beautifully tarnished sterling silver toggle clasp – plus three sturdy, antiqued brass 7mm jump rings to attach the bar end of the clasp to one end of the bracelet:

If you’re new to using jump rings, see my quick tip, How to Open and Close a Jump Ring.
Set out two of your washers.
Use your flat nose and chain nose pliers to twist open one of your large (12mm size) jump rings:

String both washers onto the opened jump ring.
Then use your flat nose and chain nose pliers to twist the jump ring shut again:

Continue using your 12mm jump rings to attach more washers, making a sort of chain:
. . . making the chain longer
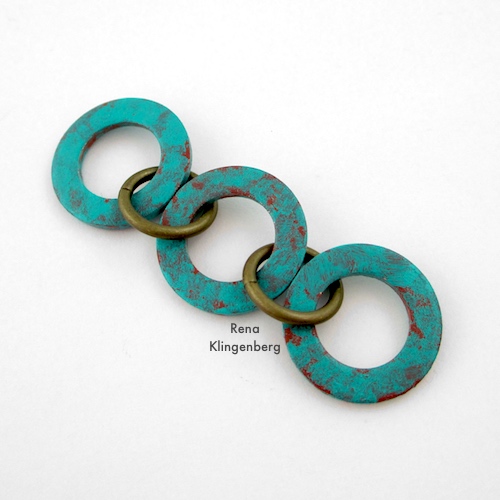
. . . and longer:

. . . until it’s your desired length:

Now it’s time to attach the clasp components to the ends of the bracelet.
We’ll start with the ring end of the toggle clasp.
Use your flat nose and chain nose pliers to twist open one of your large (12mm size) jump rings:
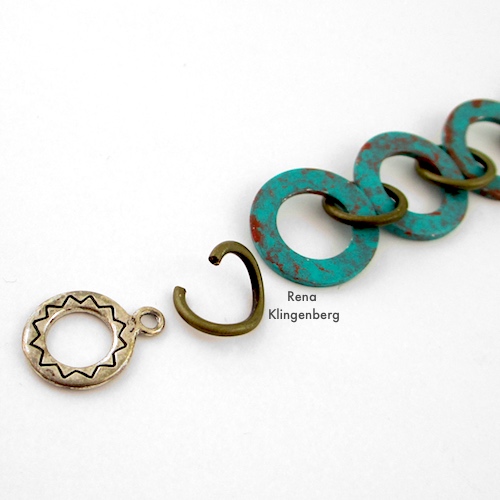
String the jump ring through the little loop on toggle ring:

. . . then string the jump ring through the last washer on this end of the bracelet, and use your flat nose and chain nose pliers to twist the jump ring shut again.
This part of the toggle clasp should be attached securely to this end of the bracelet:

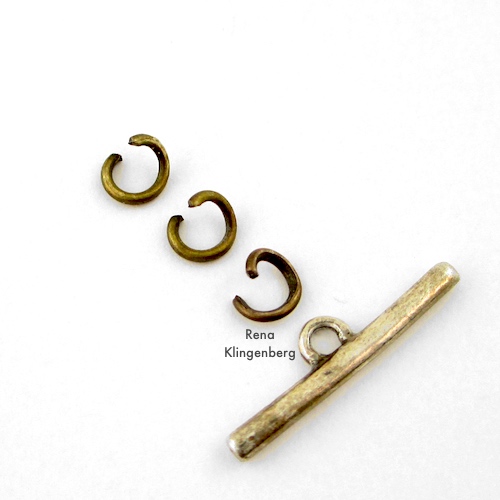
Now we’ll move to the other end of the bracelet, to attach the toggle bar to it.
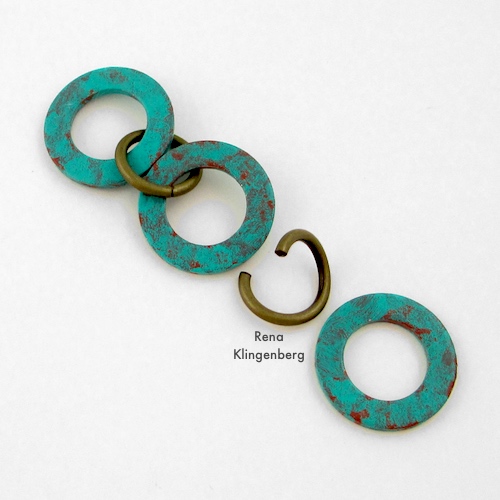
First, use your flat nose and chain nose pliers to twist open your three smaller (7mm or 8mm size) jump rings, and get ready to attach them together in a little chain, with one end of this little chain attached to the toggle bar:
Attach one larger (12mm) jump ring to this end of the bracelet.
Then attach the end of your little toggle bar chain to the larger (12mm size) jump ring at this end of the bracelet:
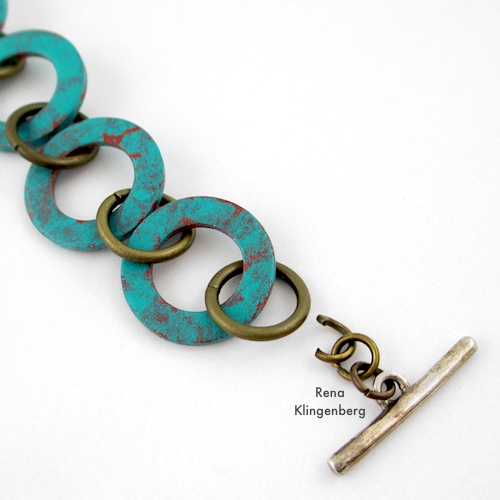
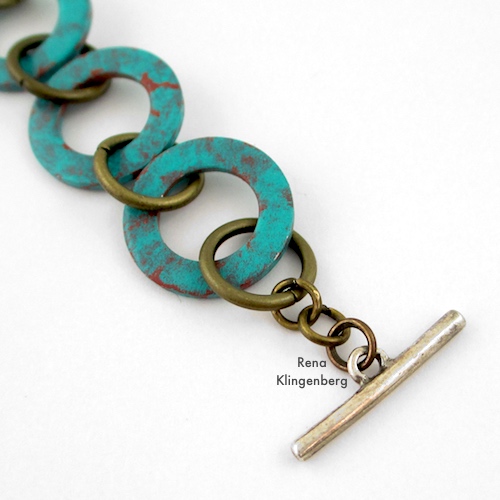
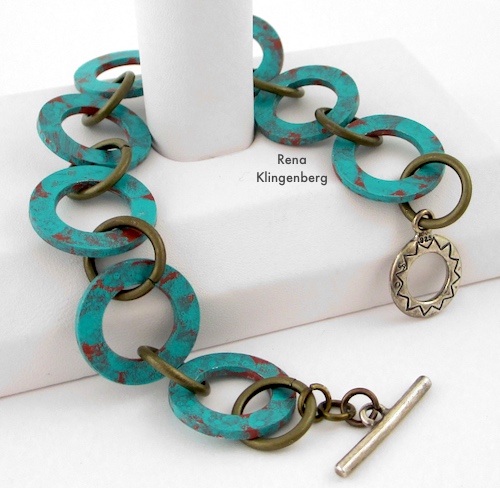
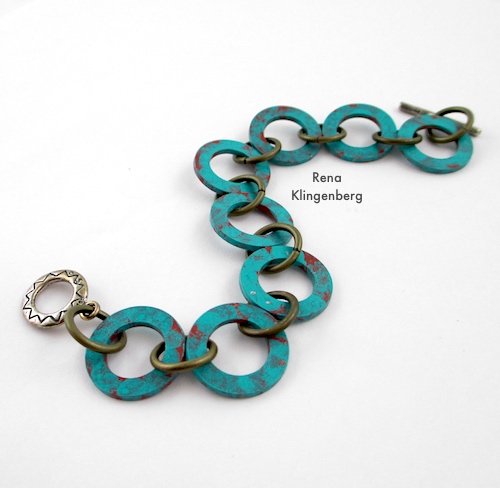
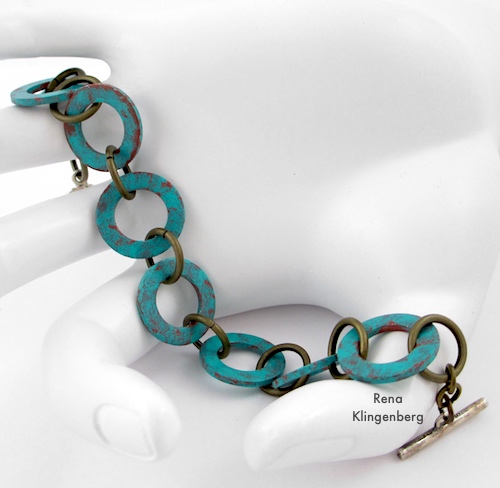
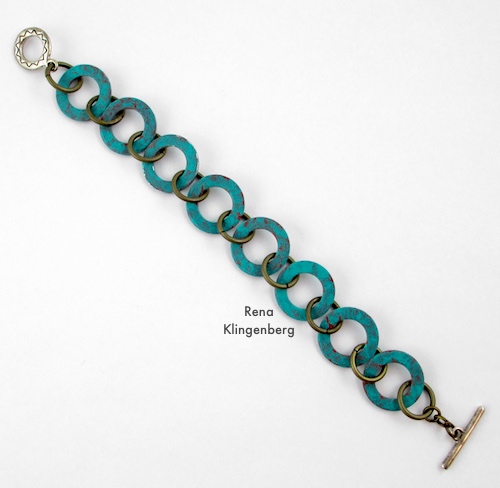
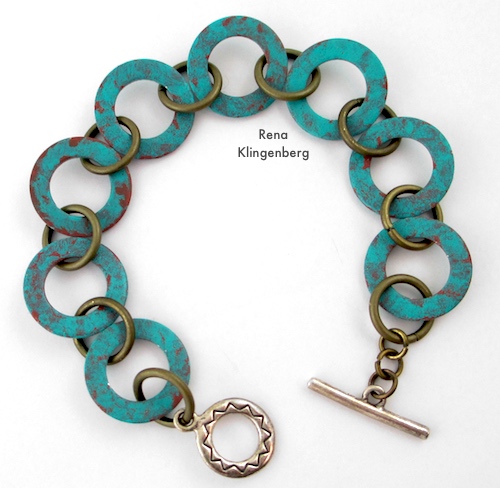
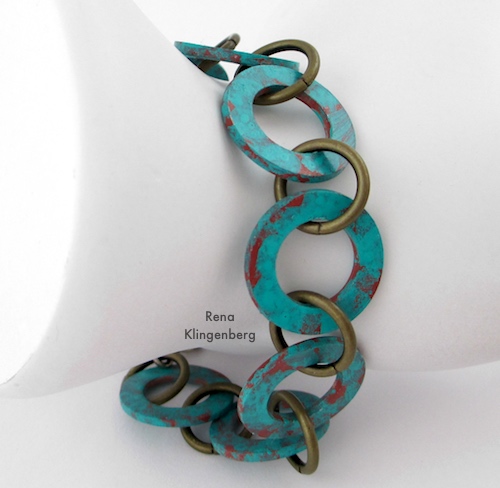
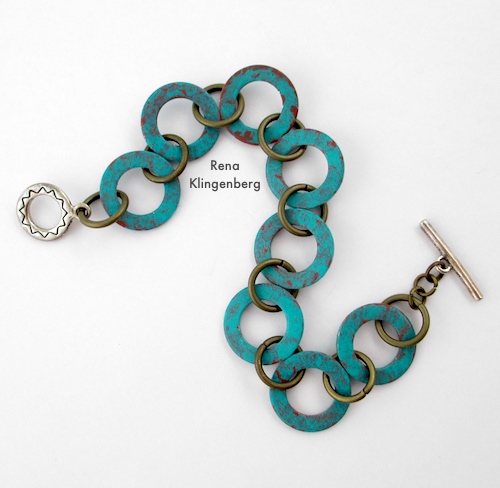
Now your bracelet is finished!
Your finished Patina Hardware Bracelet may look something like this:
