
Tranquility Necklace (Tutorial)
by Rena Klingenberg. © 2003-Present Rena Klingenberg. All Rights Reserved
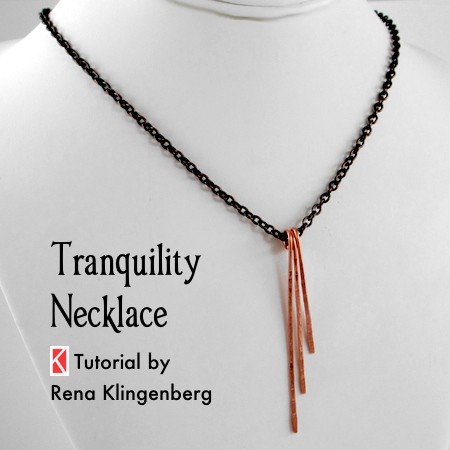
Three simple copper sticks provide an aura of calmness and minimalist style on this oxidized copper chain.

I used a double-spiral clasp from one of my previous tutorials here.

The copper sticks are in three graduated lengths, and slightly hammer-distressed.
Supplies:
- Round wire – 16 gauge, soft or half-hard. I used copper.
You’ll need three pieces of wire:- 1 piece 3″ (76mm) long
- 1 piece 2.5″ (64mm) long
- 1 piece 2″ (51mm) long
- Chain – your choice of length and chain style.
I used a 17″ (43.2cm) oxidized copper chain, link size 3mm x 4mm. - Two jump rings, one for each end of the chain.
- Clasp for your chain.
I used a clasp from my Spiral Wire Hook Clasp Tutorial. - Wire cutter. If you’re using 16 gauge wire or heavier, be sure to use a cutter made for heavy gauges. I used a memory wire cutter.
- Optional: Nylon-jaw pliers for straightening your wires.
- Wire rounder / cup bur.
- Round nose pliers.
- Flat nose pliers.
- Chain nose pliers.
- Steel jeweler’s block (or other sturdy, smooth surface you can hammer on).
- Metal hammer for flattening and texturizing your wires.
I used a domed face chasing hammer. - Nylon, plastic, or rubber jewelry hammer for final hammering on wires.
How to Make a Tranquility Necklace:
We’ll start by cutting our three pieces of wire:
- 1 piece 3″ (76mm) long
- 1 piece 2.5″ (64mm) long
- 1 piece 2″ (51mm) long
I used memory wire cutters for this heavier gauge of wire:

Your wires should look something like this:

If you have nylon jaw pliers, use them to straighten the three wires you just cut.
Use your flat nose pliers to hold one end of the wire firmly, and use the nylon jaw pliers to slide down the length of the wire, pulling the wire straight as it slides:

Now use your wire rounder / cup bur to round and smooth each end of all three wires:

In just a moment we’ll be making a loop on each of our wires.
To make sure all three loops are the same size, use a Sharpie marker to draw a guideline halfway down one jaw of your round nose pliers:

Now use your round nose pliers to grasp the tip of one of your wires. The wire should be on the guideline you just drew on the pliers:

Roll the wire end into a loop, turning your pliers as needed to make the loop:

Now your wire should have a P-shaped loop, like this:
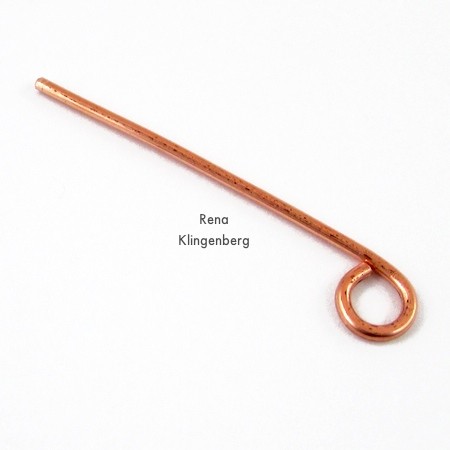
Make the same size of P-shaped loop on one end of each of your other two wires.
Now you should have three wires that look like this:

It’s time to texture the wires with a metal hammer.
Place one of your wires on the steel block (with the loop hanging off the edge of the block because we don’t want to hammer the loop):

Holding the loop with your fingers as shown below, use your metal hammer to add some texture and flattening to the long, straight part of the wire:

If your wire got a bit warped with that hammering, use your nylon, plastic, or rubber hammer to hammer the wire flat again:

Hammer the other two pieces of wire the same way.
Now you should have three textured wires:

It’s time to assemble the Tranquility Necklace.
Set out your chain:

. . . and your clasp:

String your three wire pieces onto the chain, in whatever order you want them to be:


Use a jump ring to fasten your clasp to one end of your chain:

Now your finished Tranquility Necklace should look something like this:


