
Colorful Hoop Earrings (Tutorial)
by Rena Klingenberg. © 2003-Present Rena Klingenberg. All Rights Reserved

Make these hoop earrings in a variety of colors!

I used blue beads to create a complementary color scheme with the bright copper wire.

Have fun mixing colored wires with various bead colors to create an array of fabulously fun hoop earrings!
This is a great project for using up odds and ends of seed beads.
You can make these hoops as large or as small as you like.
Supplies:
- 20 gauge soft round wire.
(I used Artistic wire in Natural color – which is a bright shiny copper.) - Seed beads that will fit onto your wire.
(I used the Bead Treasures “Sapphire Multi” seed bead mix, size 6/0.) - 2 beads or charms for dangles (1 for each earring).
(I used two small blue teardrop beads.) - 2 small jump rings – for attaching your dangles to the earrings.
- A pair of earwires.
(Mine are from my Easy Fancy Earwires Tutorial). - Sharpie marker – to mark your pliers and your wire.
- Wire cutter.
- Flat nose pliers.
- Chain nose pliers.
- Round nose pliers.
- Mandrel for shaping your wire into a hoop – any size you like.
(I used a long cylindrical cap from a cosmetic product, about 25mm (1″) in diameter.)
How to Make Colorful Hoop Earrings
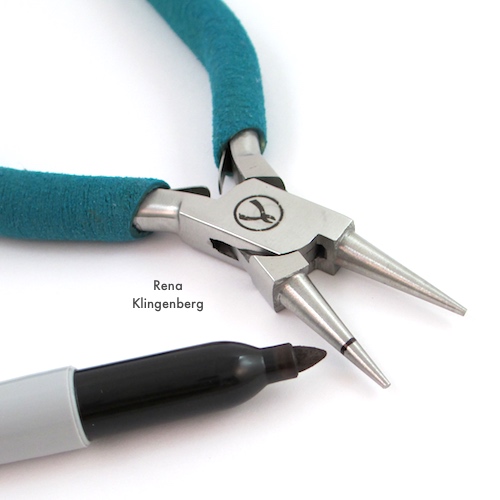
We’ll start by using a Sharpie marker to make a mark on one jaw of your round nose pliers.
We’ll use this mark to make the loops at the top of the earrings a uniform size:
We’re going to use the wire straight from the roll, without cutting it first.
Use your Sharpie marker to make a mark 25mm (1″) from the end of your wire:

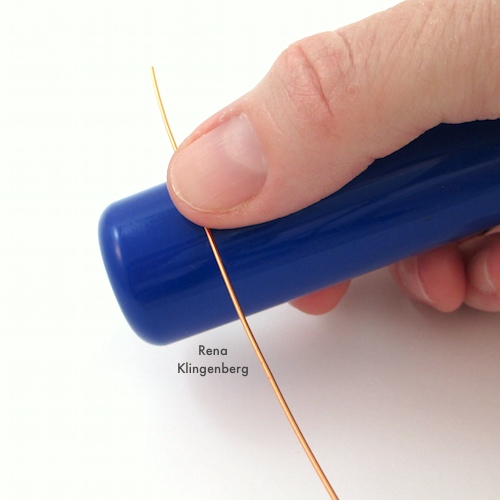
Now we’ll use a mandrel to shape the wire into a hoop.
Lay the wire end across the mandrel, so that the mark you drew on the wire is centered on the mandrel.
Put your thumb on the mark you drew on the wire, holding the wire firmly in place on the mandrel:
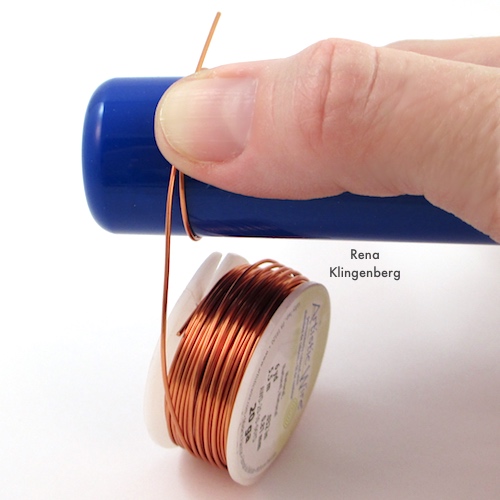
Still using wire directly from the roll, wrap the wire tightly around the mandrel once.
Use your thumb to hold both wraps of the wire firmly against the mandrel:
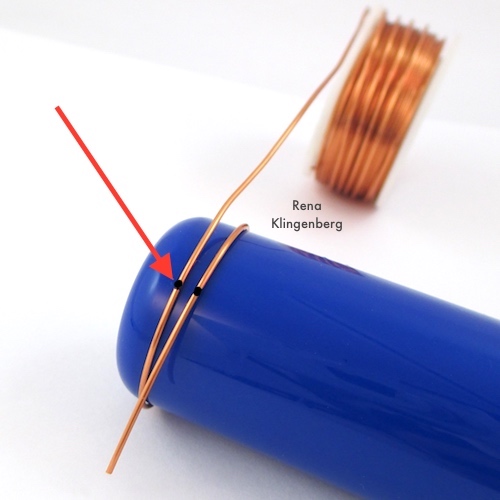
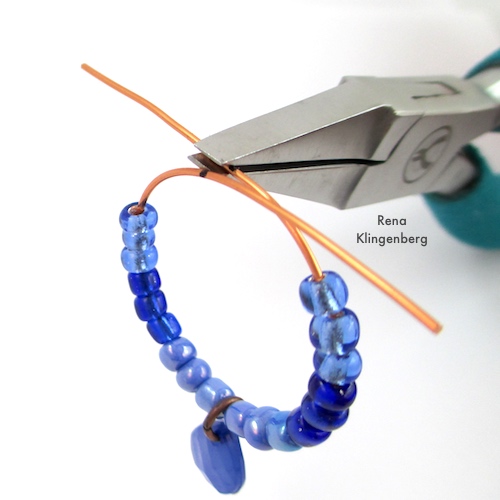
Use your Sharpie marker to make a line on the second wire, aligned with where you made the mark on the first wire. (See where the red arrow is pointing to the wire marks in the photo below):
Use your wire cutter to cut your wire off from the roll, 25mm (1″) from the second Sharpie mark on your wire.
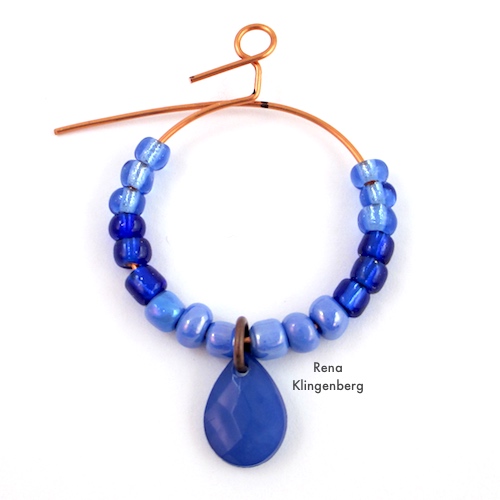
Now your wire should look something like this:

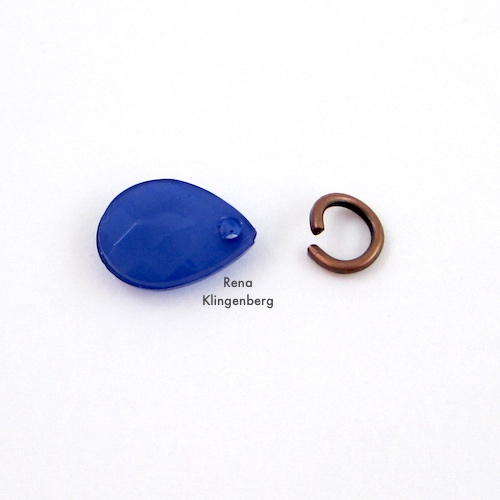
If you’re using a bead to dangle at the bottom of your hoop, it’s time to attach a small jump ring to the bead.
Use your flat nose and chain nose pliers to twist open the small jump ring:
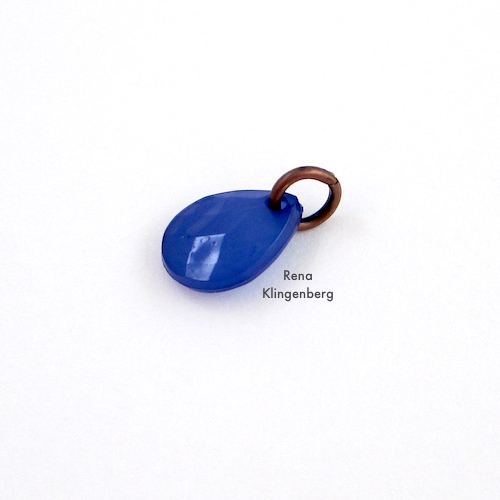
String the bead onto the opened jump ring.
Then use your flat nose and chain nose pliers to twist the jump ring shut again:
Gather the beads you want to string onto your hoop earring:

String your dangle bead’s jump ring onto the wire, and position it at the bottom of the hoop:

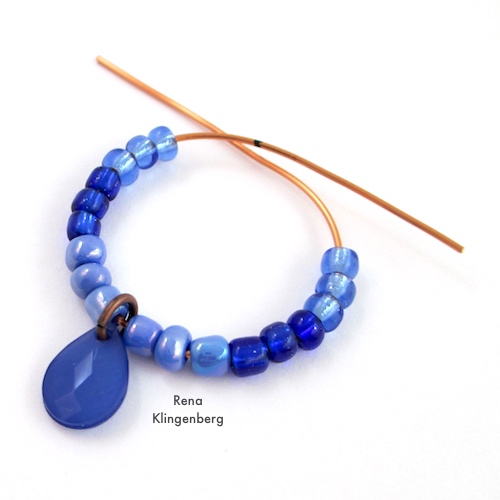
Add beads on each side of your dangle bead:
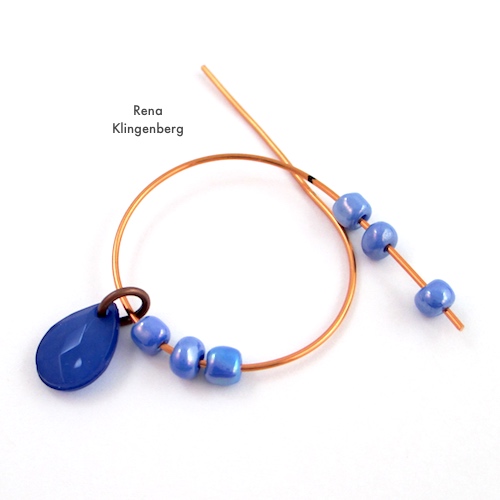
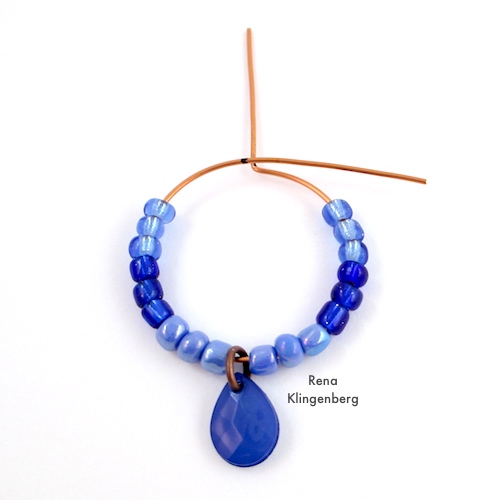
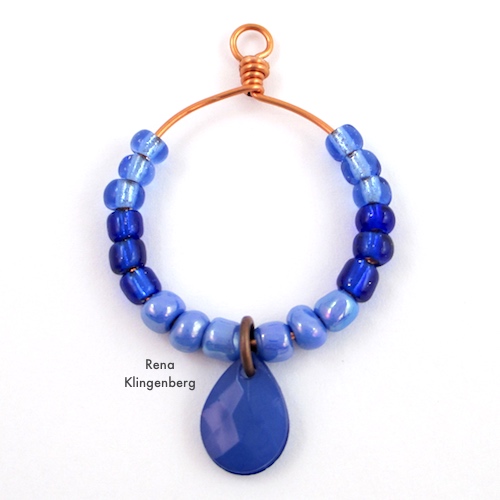
I stopped adding beads at this point, because I wanted to show plenty of shiny copper wire against my blue beads:
Now it’s time to make the wire-wrapped loop at the top of the hoop.
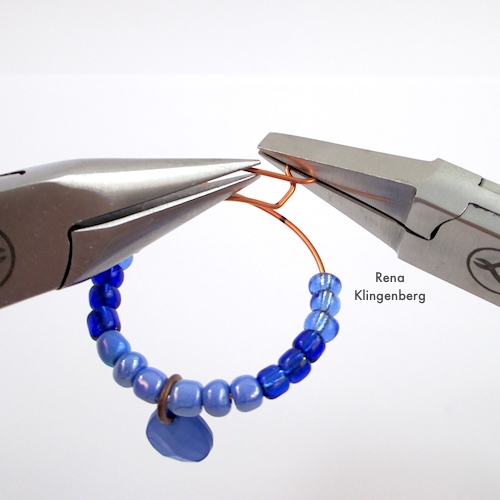
Use the tips of your flat nose pliers to grasp one of your wire ends, with one side of your pliers resting right next to the Sharpie mark you made on the wire:
Still grasping the wire, use your pliers to bend the wire at a 90-degree angle, so the straight wire end points straight upward, away from the circle.
It should look like this:
Now we’ll make a wrapped wire loop.
(If you’re new to making wrapped loops, or you’ve had trouble making them before, see my quick video, Make a Wrapped Wire Loop.)
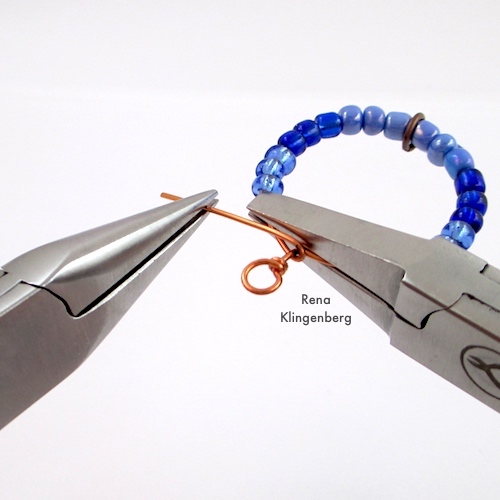
Use your round nose pliers to grasp the base of the wire that you just bent upward.
The Sharpie mark you drew on your pliers should be resting on the wire:
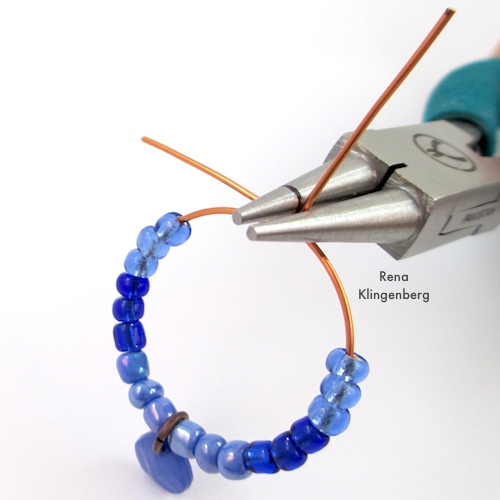
Bend the wire end over the jaw of your pliers:
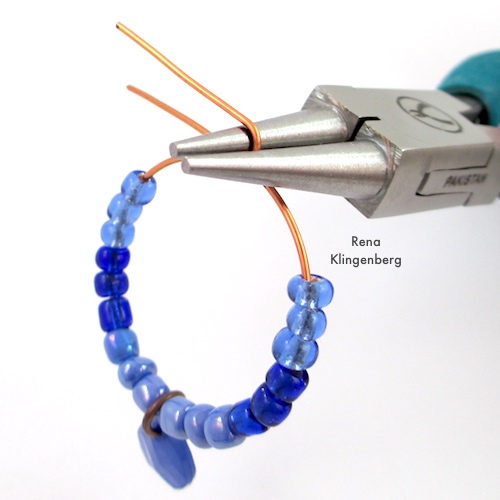
Wrap the wire around one jaw of your pliers in a loop, right on the Sharpie mark you drew on the pliers:

Your wire should look like this:
Now we’ll do the wraps that make this a wire-wrapped loop.
Use your flat nose pliers to grasp the loop you just made.
Use the tips of your chain nose pliers to wrap the wire tail around the wire stem below the loop, wrapping downward toward the hoop.
Hot Tip: You’ll get the best wire wraps by keeping the wrapping wire pulled taut, and winding it firmly around the stem wire.
Wrap until your wire end runs out.
Then use the tips of your chain nose pliers to squeeze the wire end against the wire stem.
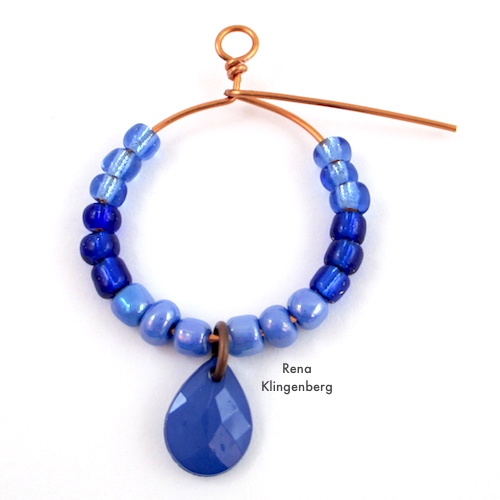
Your earring should look something like this:

Now we’ll finish off the hoop by wrapping the second wire end around the wire stem, wrapping upward toward the loop.
Use your fingers or chain nose pliers to fold the remaining wire end around the base of the wire that leads up to the loop.
The Sharpie mark you made on this wire should be touching the base of the loop’s stem wire:
Use your flat nose pliers to grasp the top of your hoop (being careful not to grasp any of the beads, which can be scratched or broken by the pliers).
Use the tips of your chain nose pliers to wrap the wire end around the stem wire, wrapping upward toward the bottom of the loop you made:
Wrap all the way up to the bottom of the wire loop.
Then use your wire cutter to trim off the excess wire tail.
Use your chain nose pliers to squeeze the wire end tightly against the wire wraps.
Your hoop is finished, and it might look something like this:
Now it’s time to attach an earwire to your hoop:

Use your chain nose pliers and flat nose pliers to twist the earwire’s loop open:

String the earwire through the loop at the top of your hoop.
Use your chain nose pliers and flat nose pliers to twist the earwire’s loop shut again.
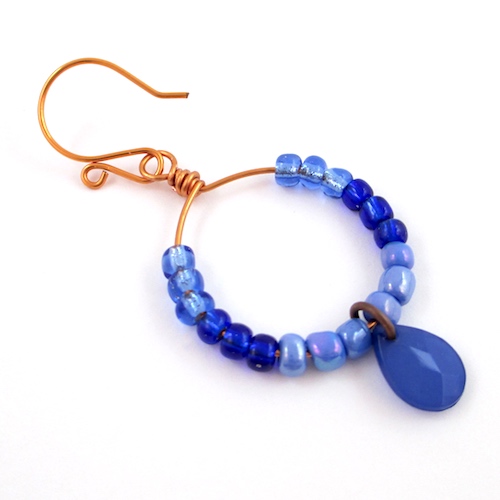
Your earring is now finished!
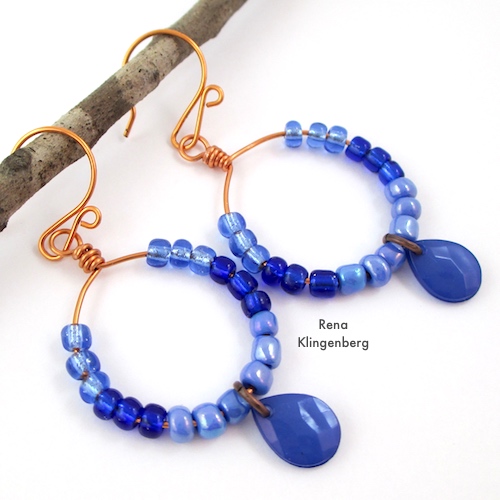
Now make the second colorful hoop earring the same way you made the first one.
Your finished pair of Colorful Hoop Earrings may look something like this:


