
Earrings with Two-Hole Beads (Tutorial)
by Rena Klingenberg. © 2003-Present Rena Klingenberg. All Rights Reserved

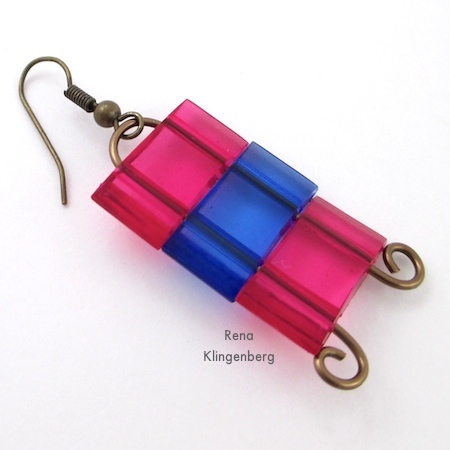
These easy earrings are designed with a small stack of two-hole beads, held together by simple, curvy wirework.
You can see the wire through the transparent beads.

If you have some leftover two-hole beads (or if you bought some but never decided how to use them) – this is the perfect project.

I’ve created a bit of asymmetry with this pair of earrings, by alternating the bead color pattern on each earring.
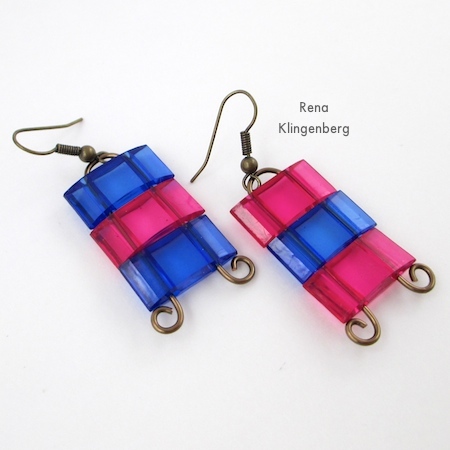
I also like the contrast of straight, sharp-cornered beads with curving wirework.
Supplies:
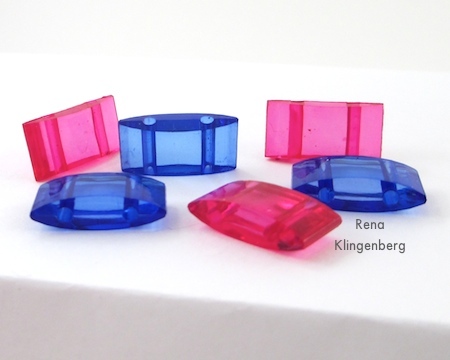
- Two-hole beads. I’m using 6 transparent acrylic beads (3 per earring). If you’re using glass or stone beads, you’ll probably need to use fewer beads so the earrings don’t get too heavy. My beads are 12mm x 9mm size.
- Soft or half-hard wire, 18 or 20 gauge (whichever fits through your beads). I’m using 18 gauge Artistic wire, Antique Brass color. We’ll discuss the length of wire below, in the main part of the tutorial.
- A pair of earwires. I’m using antiqued brass earwires to coordinate with the color of my wire. You can make your own earwires in this style, with my free Bead and Coil Earwires (Tutorial).
- Ruler, for measuring your beads and your wire.
- Sharpie marker, for marking your wire.
- Wire cutter.
- Round nose pliers.
- Chain nose pliers.
- Optional: Cup bur or wire rounder to smooth and round your wire ends.
How to Make
Earrings with Two-Hole Beads
To determine the length of wire to cut, we’ll need to measure one of your beads.
(I’m assuming that your beads are all one size.)
With the bead holes running from top to bottom, measure the height of one of your beads (my bead height is 9mm):

Now measure the distance between the two bead holes in one of your beads (my bead’s holes are about 8mm apart):

Now count how many bead holes your wire will go through.
Since I’m using 3 beads, my wire will be going through 6 bead holes (3 on the left side of the earring, and 3 on the right side of the earring).
To easily calculate the length of wire for one earring, you’ll need to add these three numbers:

My Wire Measurement
In my case, here’s my wire calculation:
- 8mm bead hole distance x 1.5 = 12mm
- 9mm bead height x 6 bead holes = 54mm
- Scrolled feet = 30mm
Now I’ll add the above measurements to get my wire length:
12mm + 54mm + 30mm = 96mm
So I’ll cut 2 pieces of wire, each 96mm long.
(Of course, you’ll need to use the measurements for your own beads.)

We’ll make one earring at a time.
After cutting your wires, straighten them using either your fingers or nylon jaw pliers (if you’re new to wireworking, please see my quick video, 6 Ways to Make Higher Quality Wire Jewelry – Video Tutorial with Transcript and Photos).
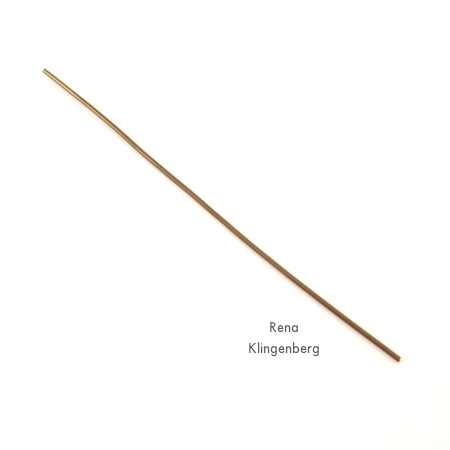
Optional: Use a cup bur or wire rounder to smooth and round each end of your wires:

Now use your sharpie marker to make a mark on the midpoint of your wire:

Use the widest part of your round nose pliers to grasp the mark you just made on the midpoint of your wire:

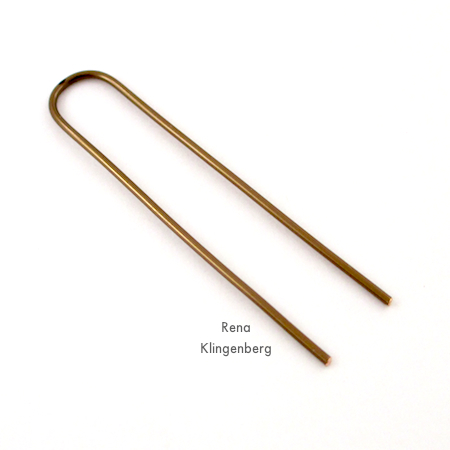
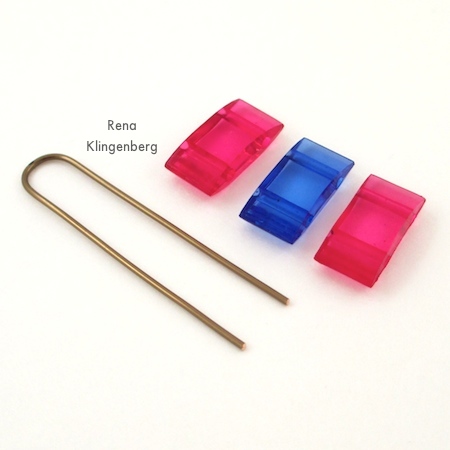
Now use the fingers of your other hand to bend the wire ends straight down, so that your wire is now shaped like a long, narrow horse-shoe:

Your wire should look like this:
Now line up the beads you’ll be stringing onto your wire:
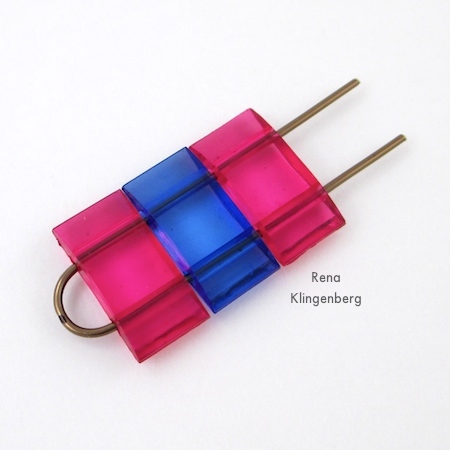
Thread the beads onto your wire:

Now your earring should look like this:
It’s time to make the little scrolled feet at the ends of your wire.
(If you’re new to making any kind of wire scroll or spiral, please see my quick video, How to Make an Open Wire Spiral (Video Tutorial).)
Use the tips of your round nose pliers to grasp one of the wire ends:
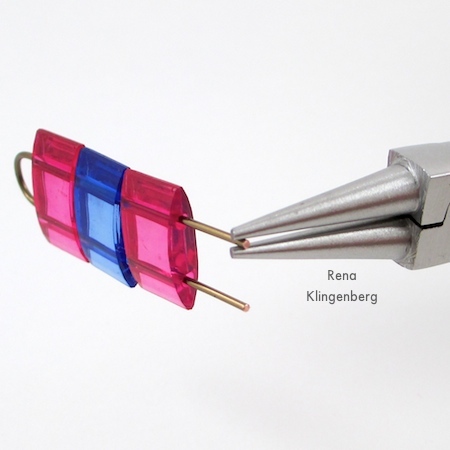
Rotate your pliers to make a curve at the end of the wire:

Move your pliers along the wire, making enough of an extra curve in the wire to make the scrolled foot touch the bottom of the last bead:

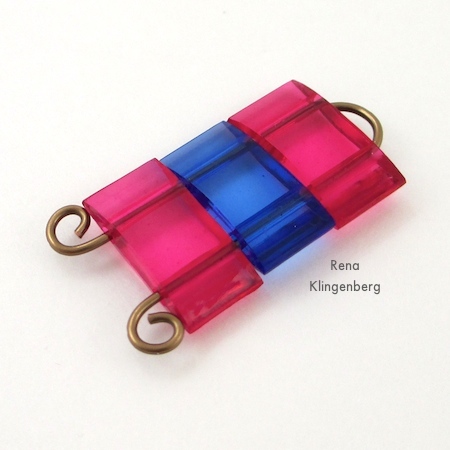
Now your earring should look like this:

Make a similar scrolled foot at the other end of your wire, so that your earring looks like this:
Now we’ll add the earwire to the top arch of the earring.

Use your chain nose pliers to twist open the loop at the bottom of your earwire:

Attach the earwire to the earring’s wire arch, and use your chain nose pliers to twist the earwire loop shut again:
Your first earring is finished!
Now it’s time to make the second earring.
I made my second earring in the opposite color pattern from the first earring, to add an interesting touch of asymmetry:
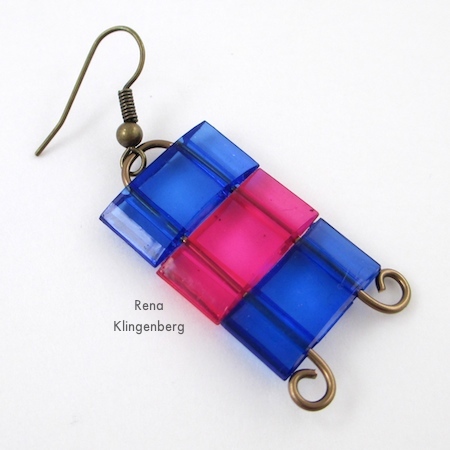
Your finished earrings may look something like this:


